Hello dear followers (if there are any ...)
I have more or less abandonned the build of the flying moth :-( because of lack of time and energy to overcome all the difficulties! I basically noticed it is more interesting to sail than build a sailing boat - if one has to choose.
I am now sailing around South America on a floating caravan - its far from flying, but its still lots of fun : igamor.blogs.stw.fr
P.-s. I still have most of the carbon and epoxy if anybody is interested in buying it for a cheap price :-D
Monday 24 November 2014
Saturday 8 January 2011
Shit !
Hello there,
Happy new year !
I didn't have such a useful time on the hull these days. I have pre- thermo-formed the sandwich foam on the mold which worked out quite well. I lost the pictures I had done ... I'll make some more afterwards.
I then wanted to finish the forming or at least see if the pressure of the vacuum bag is sufficient to completely push the sandwich foam against the mold. Everything went well and pressure was just starting to build up when I heard a big crack and saw the ply-wood of the mold bend between each support section !!! (That's where the title makes sense.)
The experienced guy understands straight away that I have put the whole mold into the vacuum bag and that this way a depression is created between the structure/support frame of the mold and the actual form. Conclusion, some of the joints in plaster cracked and need repairing.
As you might have noticed, I'm not fast, but suborn ! So I immediately found a foam with the necessary mechanical characteristics (I did calculate that this time ...) and ordered enough to fill the whole volume of the mold to reinforce the structure.
I chose 2 component Polyurethane foam 50 kg/m3, ordered 2x10kg. It's very cheap and easy to use (I'm doing that now). So some patience more is necessary to finish the filling and repair the mold.
I thick I will also use this foam as structure for the polyester mold for the other half of the hull.
Learn form your errors ! Man I'm going to be an pro !
See ya !
Sunday 28 November 2010
End of the sandpaper ... for now
Hi there,
I have decided that I'm fed up with sandpapering, so bullocks if the mold's not perfect. That just means there'll be a better tack on that boat (when not flying of coarse). I'll do the other side differently (build male mold -> polyester female).
Just to log my experiences of this first battle against DIY:
- Difficult to carve nice concave surfaces, so avoid if possible. Nevertheless adapted tools are mandatory:


- Steps: build the near-plane surfaces with plywood, roughly carve the radius's out of plaster (don't use a GF board as I did for the front roof, as it isn't stiff enough and keeps cracking the junctions). Finish the carving with polyester putty (don't use too thick layers as it shrinks allot and deforms the wood ! Once nearly finished shaping, try a layer of can paint, as it lets you see the last bumps and holes better. I used a "filler" can paint in the end and alternated the paint colors to see how much and where to sandpaper.
- I used sandpaper up to 180 to make the shapes, used mainly 240 to remove the excess paint layers and finished by hand (no wedge) with 400 and finaly, just before the wax, 600.

Forming the foam is next, then I'll clean up the workshop as there's a cm thick layer of dust which wouldn't be appreciated in the carbon.
Thanks to daddy for the help and advice (his hands have seen kms of sandpaper). Cheers from snowy Lausanne.
I have decided that I'm fed up with sandpapering, so bullocks if the mold's not perfect. That just means there'll be a better tack on that boat (when not flying of coarse). I'll do the other side differently (build male mold -> polyester female).
Just to log my experiences of this first battle against DIY:
- Difficult to carve nice concave surfaces, so avoid if possible. Nevertheless adapted tools are mandatory:


- Steps: build the near-plane surfaces with plywood, roughly carve the radius's out of plaster (don't use a GF board as I did for the front roof, as it isn't stiff enough and keeps cracking the junctions). Finish the carving with polyester putty (don't use too thick layers as it shrinks allot and deforms the wood ! Once nearly finished shaping, try a layer of can paint, as it lets you see the last bumps and holes better. I used a "filler" can paint in the end and alternated the paint colors to see how much and where to sandpaper.
- I used sandpaper up to 180 to make the shapes, used mainly 240 to remove the excess paint layers and finished by hand (no wedge) with 400 and finaly, just before the wax, 600.
Forming the foam is next, then I'll clean up the workshop as there's a cm thick layer of dust which wouldn't be appreciated in the carbon.
Thanks to daddy for the help and advice (his hands have seen kms of sandpaper). Cheers from snowy Lausanne.
Saturday 23 October 2010
Back on track
Hi fellow sailers, sorry I was a bit long, but the water looks so nice in the wind... Now that it's a bit cold for some time, I'm back in the workshop !
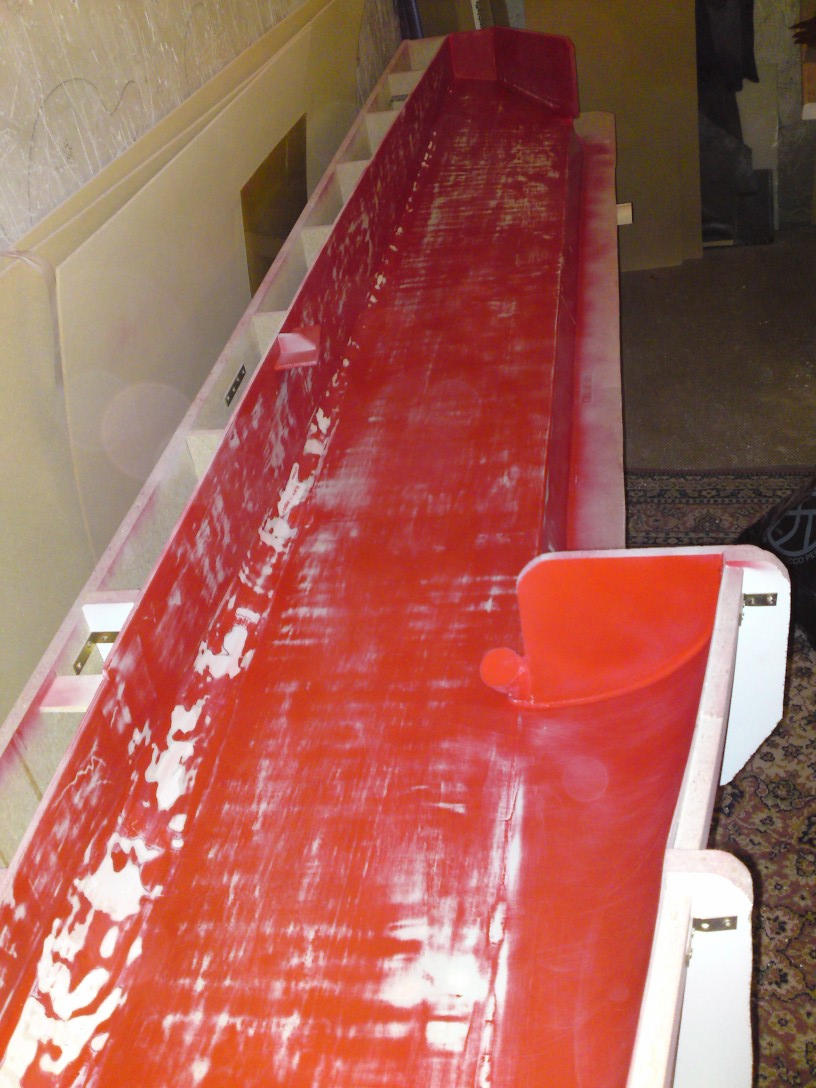
The first half hull mold (female) is nearly finished after too many hours of sand papering. I'll do the next one as a male and mold it with polyester. Like that I'll have done it both ways. So hope to show some carbon soon.
On the other hand, I've done some simulations of the hull with the french open source FEM program "Code Aster". I'll show you some interesting results soon too.
Thanks for your posts, have fun !
Sunday 16 May 2010
Material test
Hi,
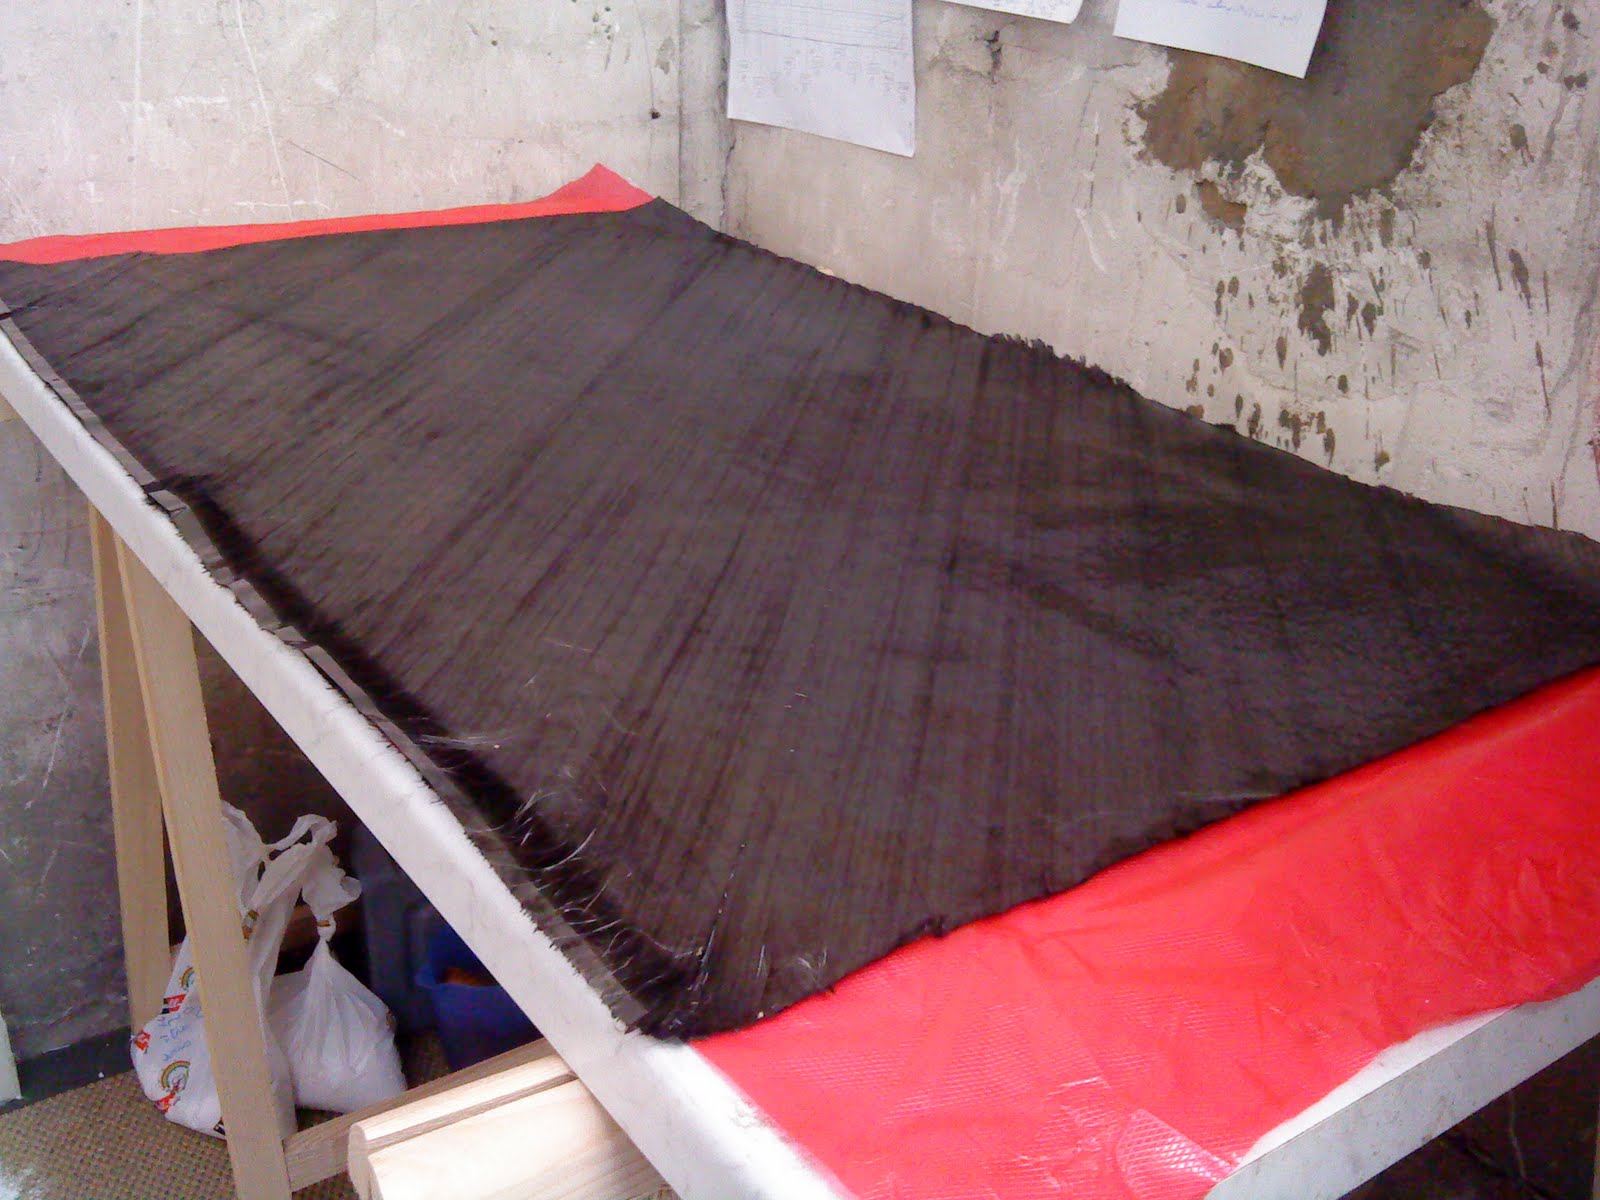
I did a test with the chosen carbonfiber and foamcore and it's no bad at all ! The unidirectional fiber (see previous post) is composed of three layer, two unidir at 45° sewn together covered with a last layer at 45° lightly glued (or just pressed). As this last layer comes free easily it's got to be on top for wetting with epoxy. This weave seems to take more time to suck up enough epoxy to glue well to the foam afterwords, so one must take care it's wet enough on both sides. The good news is it definitly leaves no pinholes and assures a watertight surface.


Mouldwise : the mould is nearly finished since to long ... I needs quite some more craftmanship as I expected. Initialy the female mould is out of wood, glassfiber plates and polyester putty. The putty shrinkes when hardening and is very hard to carve or sand. I now use plaster which expands (slightly) with drying and is softer. I'm looking for a hard wax for the ultimate smoothening, but it must stand the curing at 60°C...
That's it for now, best winds.
I did a test with the chosen carbonfiber and foamcore and it's no bad at all ! The unidirectional fiber (see previous post) is composed of three layer, two unidir at 45° sewn together covered with a last layer at 45° lightly glued (or just pressed). As this last layer comes free easily it's got to be on top for wetting with epoxy. This weave seems to take more time to suck up enough epoxy to glue well to the foam afterwords, so one must take care it's wet enough on both sides. The good news is it definitly leaves no pinholes and assures a watertight surface.

Mouldwise : the mould is nearly finished since to long ... I needs quite some more craftmanship as I expected. Initialy the female mould is out of wood, glassfiber plates and polyester putty. The putty shrinkes when hardening and is very hard to carve or sand. I now use plaster which expands (slightly) with drying and is softer. I'm looking for a hard wax for the ultimate smoothening, but it must stand the curing at 60°C...
That's it for now, best winds.
Sunday 21 March 2010
Pinholes and thermofoam
Hi,
I'm back at work, slow but steady. Latest news, I changed carbon form twill to unidirectionl ; it's two layers of unidir at +/- 45° sewn together. It avoids the pinhole problem. Remember the youtube vid where there put an extra layer of kevlar to assure water tightness. The reseller said it'll be a bit more difficult to use though.


I also ordered Airex R63 thermoforamable foam, it seems to be the best solution, but I'll tell you as soon as I get it and do a test.
I'll do the curing at 60° myself, so I bought polystyrene boards to build the oven, that'll need testing too !
On more point : if you choose to do this, don't copy me and skip the male mould to build a female mould from scrap. It's so much harder to carve concave shapes and to make it slick...
Spring's already near, but I'll be sailing on my 470 in stead of a moth for a while more.
thank's for reading.
Tuesday 26 January 2010
who want's a sandwich ?
Spent some time at work this week-end, the first half hull mold is well on it's way and I did my first sandwich test with the rohacell and glassfiber just to pick-up the trick. I definitly need some more practice... and different foam. I did a little review to compare as you can see.


I didn't find an other way to answer the posts, so I'll do it here. I intend to build foils too as that's he most interesting part, but I've got a lot to learn till then...


Next steps : sandwich sample test 2 ; order new foam (maybe 2 different) and some carbone fiber ; finish first hull mold.
See ya.
Subscribe to:
Posts (Atom)
